How to Make Piping for a Cushion
This tutorial will show you how to make bias piping for cushions. Piped edging, or welting, can be used to decorate your cushions, sofas, or even for clothing! The weight of fabric and type of piping cord you use will depend on your project.
Piping or welting?
Piping is also known as welting, especially when it is used for upholstery projects where it is used along the seams to highlight the shape of the item of furniture. It can be used to add a neat edge, make a seam more hard-wearing, or to add a pop of contrast colour or design.
Read on to find out how to make your own piped edging using your chosen patterned or plain fabric and some piping cord. We stock 5mm cotton piping cord which is suitable for most furnishing projects but check out this link for a guide to other more specialist types of piping cord.
How to make your own piping
We’ll tell you how to make your own bias piping or welting, including the right way to join the fabric together to make a piece long enough for your project.
Because you will be cutting strips of fabric on the bias, you may need a large square of fabric to get enough strips of material for your project; it’s important the fabric is cut on the bias, so that it has some give and can go round corners.
It’s good to have as a few joins as possible in the piping, so take some time to map out the pieces for your cushion with tailors chalk or vanishing pen before you start to cut out.
Need inspiration? Have a browse through our fabrics – lots of them are suitable to make bias piping or welting. You can use twills, poplins, furnishing fabrics and much more. The material you use must be strong enough to take the wear it will get – our quick guide to the Martindale rub test will help. You can use light wear fabric for a cushion, but will need much heavier wear for upholstery.
What you will need:
- Scissors
- Fabric (Dress or curtain fabric)
- Piping cord
- Iron for pressing
1. Piping cord & fabric
Have everything ready before you start. For a piped cushion you will need a continuous length of piping 5cm longer than the perimeter of the cushion. For example, a 45cm cushion will need 1.85m of piping.

Plan out your cuts before you start – you’ll need to cut the fabric on the bias, but the aim is to have as few joins as possible.
2. Cut your fabric strips
The fabric you choose can be the same as your furnishing project or a pop of contrast.
Cut strips of fabric along the bias making each strip approximately 5cm wide. You might need to adjust the width depending on the thickness of your chosen piping cord, but 5cm is a useful size.

3. Join the strips of fabric
Now we need to join several strips to make a longer strip big enough for your project.
To do this, overlap two of your fabric strips along the short edge, as shown in the picture. It’s important to make the joins correctly so that your piping strip is straight!

Stitch the join as shown.
4. Press your piping fabric
Before you start work on your project, it’s good practice to cut away the excess from the seam for neatness.
You can now use an iron to press the seams of each join flat. Repeat as many times as necessary for the required length of piping.

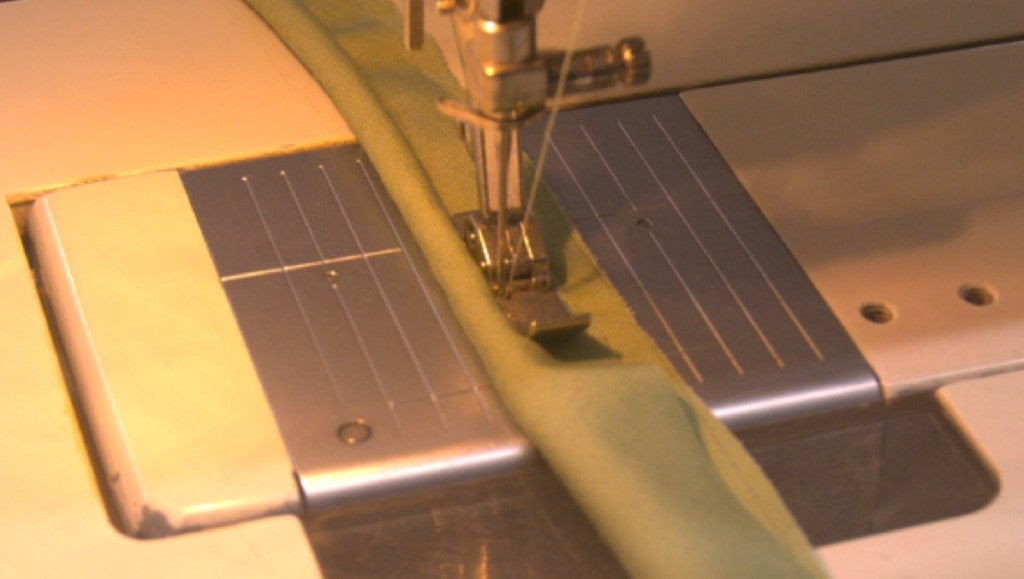
5. Add the piping cord
Place the cord on the strip of fabric and fold the fabric in half over it. Using a zipper foot, stitch as close to the piping as possible.
Stitch along the entire length of your bias piping leaving a gap unstitched at each end. This will make it easier to join the piping together when working on projects.
